Damn damn double damn... I've screwed myself.
Last summer & fall, I used spring water for all of my homebrews. Then I started boiling 7 or 8 gallons of tap water the night before, and letting it sit overnight to cool. Both of these worked well... the spring water beers definitely were the best of all of them, that could just be coincidence, or it could be factual.
Recently I started all grain brewing... and for some lazy-ass reason, I used tap water. I've now noticed that my chocolate stout, dunkelweizen, AND brown ale all have the same bitter taste to them. Unfortunately, the last batch I did, the brown rice lager, also used tap water. Well... never again. I'm either going back to boiling it the night before or just ponying up the $ to buy spring water each time.
Having the right water really does make an enormous difference... go figure, your beer is mostly water in the end, so it really should be one of the most important ingredients.
Tuesday, March 16, 2010
Saturday, March 6, 2010
Brown Rice Lager
The Plan:
Had an interesting beer at Magic Hat over the summer... a brown rice lager, based after a Budweiser clone, using brown rice instead of regular white rice. Doing some research I soon realized this is all based off of a Japanese lager style. I had some trouble locating a clone recipe for Budweiser, surprise surprise... and found plenty of good jokes about brewing Bud. But in the end, I based my recipe partially off of Kirin (pic @ right), partially a guess at Budweiser, partially off of a plain rice beer I found, and also ended up getting the Magic Hat grain list after I got all the ingredients, so I went and got more. I figured this would be a great beer to server at one of our sushi nights (hopefully to start again soon!)
Recipe:
7.5# Weyerman 6-Row
2.5# Muntons 2-Row
1# Rye Malt
1/2# Rice hauls
1/4# Crystal 40L
4# Brown Rice
1oz Saaz (60)
1oz Saaz (5)
Wyeast California Lager 2112 (Activator, 2L starter)
3/4 Yeast Starter:
2L water, 2 cups DME, 1 tsp yeast nutrient. Boiled for 10 minutes, yeast pitched, covered w/ foil, put on stir plate. Took off stir plate Friday night (3/5), put in fridge, decanted this morning, let out at room temp ready to pitch.
3/6 BREWDAY:
Wanted to try and get some stuff done today, so I got up at 7 to try and get started early. Rice was boiling by 7:45. Beersmith called for 19.79 qts of mash water, that seemed like a lot, so I used 4.79 of those in with the rice, then the other 15 I heated up separately for mash in. Rice needs to boil for an hour, mash water needs to be about 167.
Ended up adding 2 or 3 additional quarts of water to the rice starting at 38 minutes left... got rightup to the top of the kettle... should have used a bigger kettle, so the rice could have been on a hard boil the whole time. Gravity reading at 60 minutes was 5 Brix/1.019 or so. Booo. Had a hell of a time adjusting all the temps so that the initial mash water/rice temp was 167. Never hit that... closest I got was 165 after taking a few qts out and reheating. After adding in all the grain and rice hauls, temp was 152. Close enough.
3/28 RACK TO KEG:
Thought I'd rack it into a corny keg so that it would fit into my fridge a little easier so that I can start lagering (a little late). I got roughly 5 gallons, light color, maybe a little lighter than I wanted, but pretty much right where I wanted it. Tastes great! Very very faint taste of that shitty bitter tap water taste. Hopefully it won't be there. Gravity was 6.75/1.010 which was lower than expected, with an estimated ABV of 5%. Keg fits snuggly in the fridge, holding steady at about 35 degrees or so. Looks like it should be ready by end of May or so.
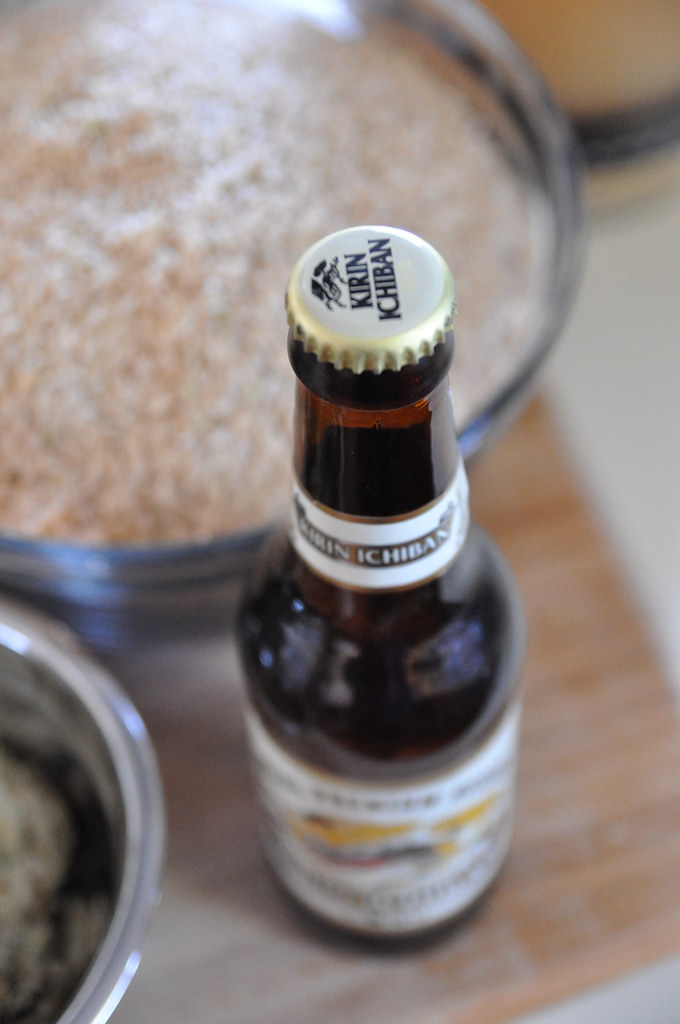
Saturday, February 6, 2010
Brown Bear Ale
 The plan: My wife's sister lives out in Omaha Nebraska and every year for Spring Break we'd go there to visit her and her family. One of the first breweries we fell in love with was Empyrean Ales in Lincoln NE. They have some phenomenal beers; some our favorites are Third Stone Brown, Lunasea ESB, and Darkside Vanilla Porter. Every spring, usually around mid-March, I get a wicked craving for these beers since that's when we'd always visit them. They have a very limited distribution, so it's damn near impossible for me to get their beers anymore, so I decided to try to clone them! After some thought and shitty correspondence from the brewery (what a let down), I decided to clone their Third Stone Brown, off of the basic info I had. On our first trip to the brewery, we got their sampler, which came with a paper mat that detailed each of the beers (shown at left). It showed "Stats" (5% ABV, 13.1 OG, 14.5 IBU's), "Ingredients" (Pale 2row, Carastan, Special, Victory, Chocolate, Vienna; Willamette hops (aroma); Ale yeast), and "History of Style" (blah blah blah... Northern England).
This would be my 3rd all grain batch, and so I still really didn't know what the hell I was doing, so I looked at the grain bill and tried to figure out which were base grains and which were specialty grains. I also looked into Clone Formuation on BeerAdvocate.com's Homebrew forum, as well as a sweet article in BYO. I plugged the ingredients into Beersmith, converted the OG, and played around with grain percentages until it looked good. I posted the guesstimate on BA and a couple people concurred, so I went with it. Later I went back to Empyrean Ale's website and realized that they had changed the recipe since I had that sampler... well eff'em, I'm gonna brew the Third Stone I fell in love with!
Recipe:
OG: 13.1 Pluto converted to 1.047
FG: to achieve 5%, FG needs to be 1.012
IBU's: 14.5
6# Pale 2-row (UK)
4# Vienna
1# Crystal 60-L (no Carastan, which could be substituted for Crystal 30L, but no 30L so I just used 60L, which just made it a little darker)
1# Victory
1/4# Special B (no Special, so used Special B, just a little darker)
1/4# Chocolate Malt
1 oz. Willamette 4.4% (45 min)
1 oz. Willamette 4.4% (flame out)
Wyeast 1098 (British Ale), starter 48 hours prior to.
2/6 BREW DAY: Using my old cooler, this time sealed with the right, food safe, water sealant. :-) Worked great. I heated 15.65 quarts of water to 170, added to cooler, let sit for 5 minutes then doughed in. Stirred and broke up clumps (something I didn't do before) and hit 154. Closed it up, wrapped with 2 blankets, and let'er simmer. 60 minutes later, checked temp - 152. Sweet! I had heated up 2.33 quarts to boil, then added it to the cooler for mash out. Stirred it up, temp = 168. Let it settle for 10 minutes, collected vorlof, then collected first runnings. ~4 gallons, Brix = 15/1.059. I had been heating up 2 gallons of water, so I added 1 more and heated it all up to 185, then added to cooler. Stirred up good, let sit for 10 minutes, and then collected second runnings. 6.5 total gallons, total Brix = 12/1.047. Threw the kettle on the burner, took about 1/2 hour to get to boiling, added 1 oz. Willamette @ 45 min, then 1 oz. @ flame out. I decided to try to use the washing machine water source to pump through my chiller. Worked great... except I forgot to check it and the damn thing overflowed! So I had to halt it, drain the washer, then restart the chilling. What a mess. It just barely filled up a second time by the time I hit ~65F. I stopped it, ran it out the spigot through a sanitized hose, into a sanitized funnel w/ filter, and into sanitized carboy. Got about 5.25 gallons, Brix = 14/1.055. I had my yeast slurry ready to go, it was at about 64/66F, I swirled it up and pitched it all in, about 1000mL worth. Capped it with a blow off tube, and proceeded to clean up. Total time... 8 AM started to heat water, doughed in about 9/9:30, pitched yeast @ 2PM. Not bad!
2/13 RACK TO SECONDARY: Racked the brown ale over to secondary after bottling the Dunkelweizen. I almost filled the 5 gallon carboy, I had to stop short. I took a sample to check gravity, Brix=7, I used BeerSmith first and it said I had a 1.026 which seemed pretty high. I used the morebeer refractometer tool and it says I was at 1.011. I decided it was time to bust out the old hydrometer to see who the hell was right (and I was hoping it'd be the morebeer sheet). Hydrometer reading = 1.018. Not great. I bet I'll go down a point or two in secondary and priming, hopefully. Regardless, it has a nice color, smell and taste were a little hard because of a bad cold I had... had faint tastes of sweet, nutty, malty, carmely flavors. This is gonna be good, can't wait :-)
3/10 BOTTLED: I got around to bottling this much later than I wanted, no big deal though. I've been saving up Sierra Nevada bottles for a while now, since they're the closest things to Emyprean Ales bottles. I was able to 1 &3/4 cases of 12 oz bottles, plus 6 22oz bottles. I'm hoping to be able to drink these by the time my sister-in-law and niece & nephew show up the week of March 21st. We shall see.
3/20 TASTING!: 10 days in, why not give it a shot. First bottle, flat flat flat. Tried another on Wednesday the 24th, still flat. Ruh roh. I'll try another in a week. Hoping that they're not all flat.
4/19 SECOND TASTING: Pulled another bottle out when Dave & Megan came over for dinner. This time it poured with carbonation. Phew! I think what happened is that the bottles I had priming upstairs turned out fine, they primed at around 65F. The ones in the basement I think went dormant because the temp down there was around 50-55F. I pulled them all upstairs and hopefully they'll kick in.
5/1 HOMEBREW COMPETITION: Upon the suggestion of two beer judges I'm acquainted with, I decided to submit this to my local homebrew comp. I was a little worried because still only half of the bottles were opening up with carbonation. This was tasting better with time, but I was still getting a little bit of that astringency like I found in the stout and dunkelweizen. Below are the score sheets..
.


Sunday, January 17, 2010
Dunkelweizen
The plan: I wanted to do a winter wheat, and I thought I'd try an all grain  clone of Weihenstephaner Dunkelweizen. If you haven't tried it, do yourself a favor and go get some! Later, I think I wished I would have cloned the old Magic Hat St. Gootz... that stuff was so good, it's a shame they stopped making it.
Recipe:
5# Pilsner 2row (Ger)
5# Wheat Malt (Ger)
1# Honey Malt
1/2# Special B
1/2# Rice Hulls
1oz Mt Hood (in place of Hallertau)
Wyeast 3068 - Weihenstephaner Weizen
1/17 BREW DAY: This was my 2nd all grain batch, 1st in the cooler, and we were gonna have some company over while I was brewing, not optimal, but oh well. Heated up 15 quarts of tap water to 170F, added to cooler, then doughed in. Hit my mash temp of 153, covered with 2 blankets and let sit for an hour. I did open it up a few times to check the temp since it was the first time I had used the new cooler mash tun. By 60 min, I only had lost 2 degrees, so this thing rocked! I heated up about 8.5 quarts of water to almost boiling, added it to the mash for mash out, stirred the shit out of the mash, then let sit for 10 minutes. Vorlof'd back in, then collected first runnings. Brix = 11.5/1.045... hmmmmm, that's not that great. Estimated pre-boil gravity was 1.051.. and the first runnings didn't even hit that... eesh. (I later realized that I didn't stir it enough and I think there were some pretty big clumps in there). After first collection, I had about 3.5 gallons, and I want 6.5 total so I heated up 3 more gallons to 190 and added that to the grains. Hit my 168 temp, vorlof on top, collected second runnings, total Brix now = 9.75/1.038. Shit! Ended up with 6.5, threw on the fire and brought to a boil. Added my hops when boil started... let the boil go for 1 hour. It was actually warm enough (high 30's maybe 40) that I was able to use the outdoor hose, so I used the IWC and got it down to 65 in about 15/20 mins. SG BRix=10.5/1.042... target was 1.059 for 75% efficiency, so I came in low, around 53%... oh well, what can ya do... it was only batch #2. Pitched the yeast slurry started a day before, and called it a day (aside from cleanup).
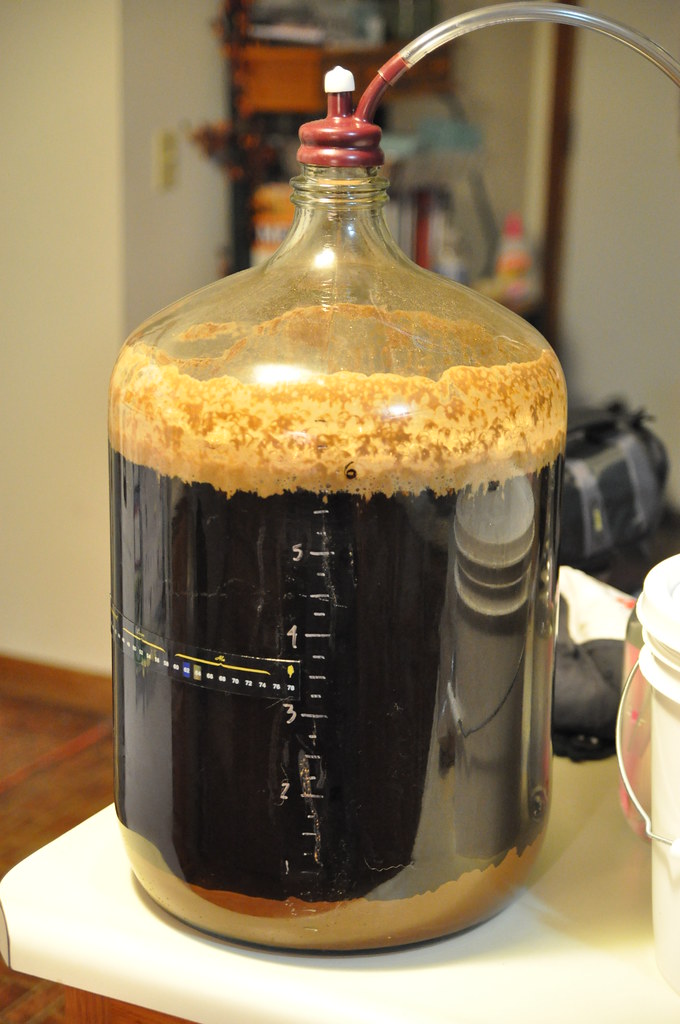
It started a pretty vigorous fermentation the next day, to the point that it looked pretty crazy. You could actually see it swirling around in the main body of the carboy. I may have seen that once before, can't really recall.
1/29 RACK TO SECONDARY: I got a bit weirded out while transferring to secondary. Some unknown substance got into the batch and there was a huge "thing" on the inside wall of the carboy (see pic). Freaked-me-the-eff-out. I took a sample, Brix=6/1.014 which hit my target, and I tasted the sample. Hmmm, not sure about this one. I took this pic in to my LHBS, and they were a little weirded out by it too, BUT she suggested that I keep moving forward with it and see how it turns out. Oooookay! I will try.
2/13 BOTTLED: Ehhh.... this still has a weird taste to it... although I can smell the banana of the yeast, which is cool.
2/23 TASTING: No carbonation at all... which makes me wonder. Plus it really did not taste good. I'm so ready to pitch this into the garden and start over. I'll wait it out a little bit longer, but there should have been some sort of carbonation in there by now.
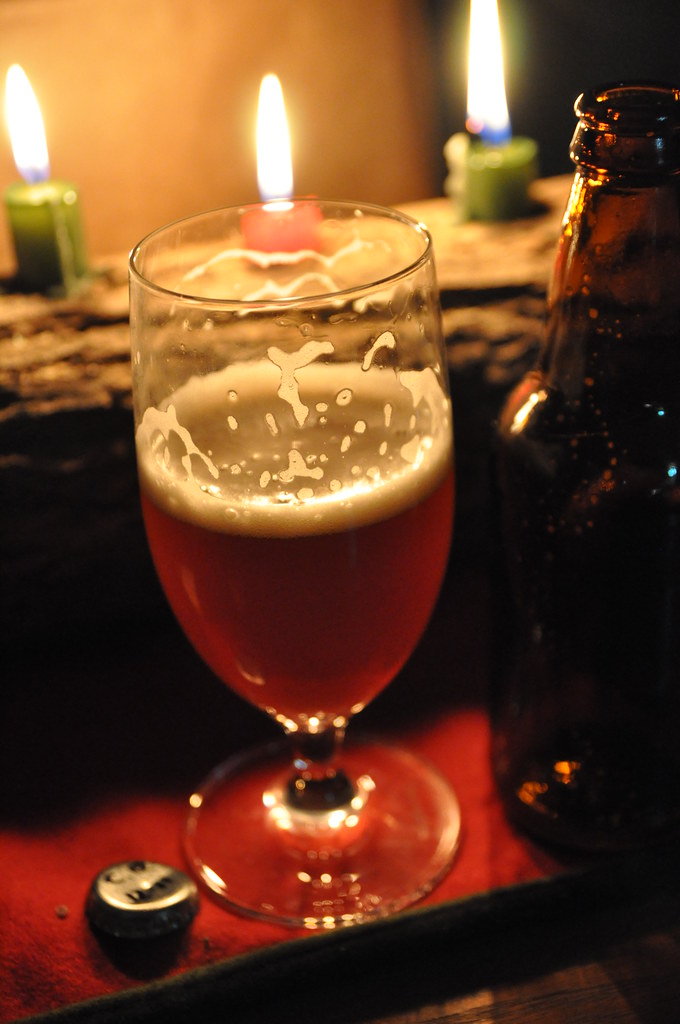
4/4 TASTING (AGAIN): Took pic at top of post, carbonated just fine, but it did take a while. Still has this strange aftertaste. I've looked into it a bit and it sounds like its an astringent taste. Like having paper towel on the back of your tongue. I don't like it. It does look and smell great though. I have a feeling I messed up with the mashing somewhere and got some unwanted tannins... and speaking of, I had a nice chat on Beer Advocate Homebrew Forum about it - Unwanted Tannins
5/1 HOMEBREW COMPETITION: Upon the suggestion of two friends and certified beer judges, I submitted this one to the local homebrew competition. It faired better than I thought, but still not great. My astringency suspicions were supported by both judges that tried it. I'm thinking it was a combination of using crappy city tap water along with a sloppy sparge. I will definitely make this again, but I do want to tweak some stuff, and make it more like the Magic Hat St. Gootz. Below are the two score sheets.


 clone of Weihenstephaner Dunkelweizen. If you haven't tried it, do yourself a favor and go get some! Later, I think I wished I would have cloned the old Magic Hat St. Gootz... that stuff was so good, it's a shame they stopped making it.
Recipe:
5# Pilsner 2row (Ger)
5# Wheat Malt (Ger)
1# Honey Malt
1/2# Special B
1/2# Rice Hulls
1oz Mt Hood (in place of Hallertau)
Wyeast 3068 - Weihenstephaner Weizen
1/17 BREW DAY: This was my 2nd all grain batch, 1st in the cooler, and we were gonna have some company over while I was brewing, not optimal, but oh well. Heated up 15 quarts of tap water to 170F, added to cooler, then doughed in. Hit my mash temp of 153, covered with 2 blankets and let sit for an hour. I did open it up a few times to check the temp since it was the first time I had used the new cooler mash tun. By 60 min, I only had lost 2 degrees, so this thing rocked! I heated up about 8.5 quarts of water to almost boiling, added it to the mash for mash out, stirred the shit out of the mash, then let sit for 10 minutes. Vorlof'd back in, then collected first runnings. Brix = 11.5/1.045... hmmmmm, that's not that great. Estimated pre-boil gravity was 1.051.. and the first runnings didn't even hit that... eesh. (I later realized that I didn't stir it enough and I think there were some pretty big clumps in there). After first collection, I had about 3.5 gallons, and I want 6.5 total so I heated up 3 more gallons to 190 and added that to the grains. Hit my 168 temp, vorlof on top, collected second runnings, total Brix now = 9.75/1.038. Shit! Ended up with 6.5, threw on the fire and brought to a boil. Added my hops when boil started... let the boil go for 1 hour. It was actually warm enough (high 30's maybe 40) that I was able to use the outdoor hose, so I used the IWC and got it down to 65 in about 15/20 mins. SG BRix=10.5/1.042... target was 1.059 for 75% efficiency, so I came in low, around 53%... oh well, what can ya do... it was only batch #2. Pitched the yeast slurry started a day before, and called it a day (aside from cleanup).
It started a pretty vigorous fermentation the next day, to the point that it looked pretty crazy. You could actually see it swirling around in the main body of the carboy. I may have seen that once before, can't really recall.
1/29 RACK TO SECONDARY: I got a bit weirded out while transferring to secondary. Some unknown substance got into the batch and there was a huge "thing" on the inside wall of the carboy (see pic). Freaked-me-the-eff-out. I took a sample, Brix=6/1.014 which hit my target, and I tasted the sample. Hmmm, not sure about this one. I took this pic in to my LHBS, and they were a little weirded out by it too, BUT she suggested that I keep moving forward with it and see how it turns out. Oooookay! I will try.
2/13 BOTTLED: Ehhh.... this still has a weird taste to it... although I can smell the banana of the yeast, which is cool.
2/23 TASTING: No carbonation at all... which makes me wonder. Plus it really did not taste good. I'm so ready to pitch this into the garden and start over. I'll wait it out a little bit longer, but there should have been some sort of carbonation in there by now.
4/4 TASTING (AGAIN): Took pic at top of post, carbonated just fine, but it did take a while. Still has this strange aftertaste. I've looked into it a bit and it sounds like its an astringent taste. Like having paper towel on the back of your tongue. I don't like it. It does look and smell great though. I have a feeling I messed up with the mashing somewhere and got some unwanted tannins... and speaking of, I had a nice chat on Beer Advocate Homebrew Forum about it - Unwanted Tannins
5/1 HOMEBREW COMPETITION: Upon the suggestion of two friends and certified beer judges, I submitted this one to the local homebrew competition. It faired better than I thought, but still not great. My astringency suspicions were supported by both judges that tried it. I'm thinking it was a combination of using crappy city tap water along with a sloppy sparge. I will definitely make this again, but I do want to tweak some stuff, and make it more like the Magic Hat St. Gootz. Below are the two score sheets.


Sunday, January 10, 2010
2010 Brew Calendar
The Plan: I have been enjoying brewing again, and I definitely feel more confident than my first go at it back in 2001/2002. I had no idea what the hell I was doing, and not very many people to turn to... and there was nothing online yet. So, I was going to wait for a full year before doing all grain again, but I thought... it's a new year, what the hell! While I am traveling, I decided to try and write out a tentative brew calendar for the year, based off of what I would like to be drinking at a particular time and how long it'll take for it to be ready. I also have a hefty goal of trying to brew every other weekend... not sure how long that'll hold up, but it's worth a shot! So here we go....

4/11 - CHECK-IN:
I thought I'd check in with my brew calendar and maybe adjust a few things since I've fallen a bit behind as well as switched a few things around. So far I've brewed: Chocolate Stout (plus chili & mint EXPs), Dunkelweizen, Brown Ale, Brown Rice Lager, and Funky Monkey (my banana hefe concoction). All have been all-grain, and so far the chocolate stouts, dunkelweizen, and brown ale have had this weird after taste... but apparently it's me because others have tried them and don't taste it... go figure. I blame it on using tap water, and all were brewed using tap water except the last one - funky monkey. It's a little odd that I have nothing in any carboys right now, well aside from my cider that is still chillin.
Tuesday, January 5, 2010
The Mash Tun Project
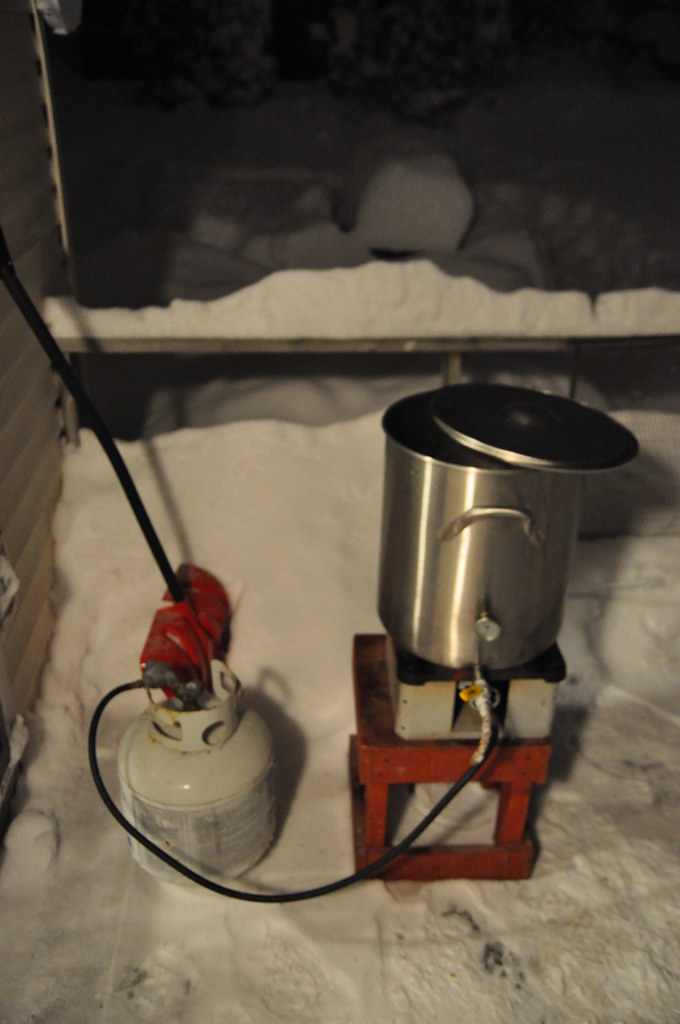
1/3/10 - Good lawd this thing has stressed me out somethin awful! I have a sweet 3 tier system (on the left - circa 2003), but the damn thing has such a problem with heat loss that I have decided I just cannot use it. Even in hotter outside temps, it just doesn't do well. I had had enough of it, and I was ready to start all grain brewing for good, but I knew I needed to get this thing fixed or else I'd be screwed.
First Option - Wrap That Rascal
I had seen some people wrapping their mash tun kettle with water heater insulation. I went to Lowes and looked at a couple different types and decided to use the one with the higher rating. Well, what I didn't take into consideration was the friggin insulation (dumb ass). When I actually went to cut out the piece to wrap the kettle, and also a circular piece for the lid... I realized that choosing the one with the fiberglass insulation was a HORRIBLE idea. That shit got everywhere, and I was so pissed at myself. What a waste of $25. Well, I made it work for that first batch, but proceeded to throw it away right after. And the thing still didn't retain heat... it dropped 10 degrees in 45 minutes. WTF???
Second Option - Convert The Old Family Cooler.
This seemed very promising since a lot of people have done this, PLUS it would allow me to brew indoors during the winter which was a huge bonus. So, I needed to fix a crack on the inside, find the right size tube to fit through the hole, a stainless steel toilet supply line, and an in-line valve outside of the cooler to control the flow. Well, for the first attempt with this one, I decided not to fix the crack on the inside... it seemed sooo small and insignificant... big mistake. Well, maybe not big, but it did leak quite a bit through the course of mashing and lautering. The toilet supply line was easy, and finding the the valve setup locally was a little challenging but I got it worked out. I could've just snagged a valve from Northern Brewer... but I like to make things difficult for myself apparently. So, 2 1/2" (shanks) and a 1/2" valve switch later, I was in business. Since I had the leak, I tried caulking the outside of the hole, but that just slowed it down a little and made a gooey mess. Between my 2nd & 3rd batch, I got some food safe water sealant and sealed the shit outta the inside and out and it has worked wonderfully.
So, option #2 is the big winner for now... I do love my 10 gallon stainless steel kettles... and I hope to maybe make a 5 gallon version of the Brutus 10 someday with them. I have shitty burners, and smaller kettles, but I think it's possible. Just need to build the stand, get some pumps, and build the controller and I'll be set. I will still have the issue of heat loss with that effin thing, so we'll see. But for now, I'm loving the resurrection of my old cooler. We used to make a huge vat of jungle juice in that thing for parties, so it's probably loving this retirement plan. :-)
Cheers
First Option - Wrap That Rascal
I had seen some people wrapping their mash tun kettle with water heater insulation. I went to Lowes and looked at a couple different types and decided to use the one with the higher rating. Well, what I didn't take into consideration was the friggin insulation (dumb ass). When I actually went to cut out the piece to wrap the kettle, and also a circular piece for the lid... I realized that choosing the one with the fiberglass insulation was a HORRIBLE idea. That shit got everywhere, and I was so pissed at myself. What a waste of $25. Well, I made it work for that first batch, but proceeded to throw it away right after. And the thing still didn't retain heat... it dropped 10 degrees in 45 minutes. WTF???
Second Option - Convert The Old Family Cooler.
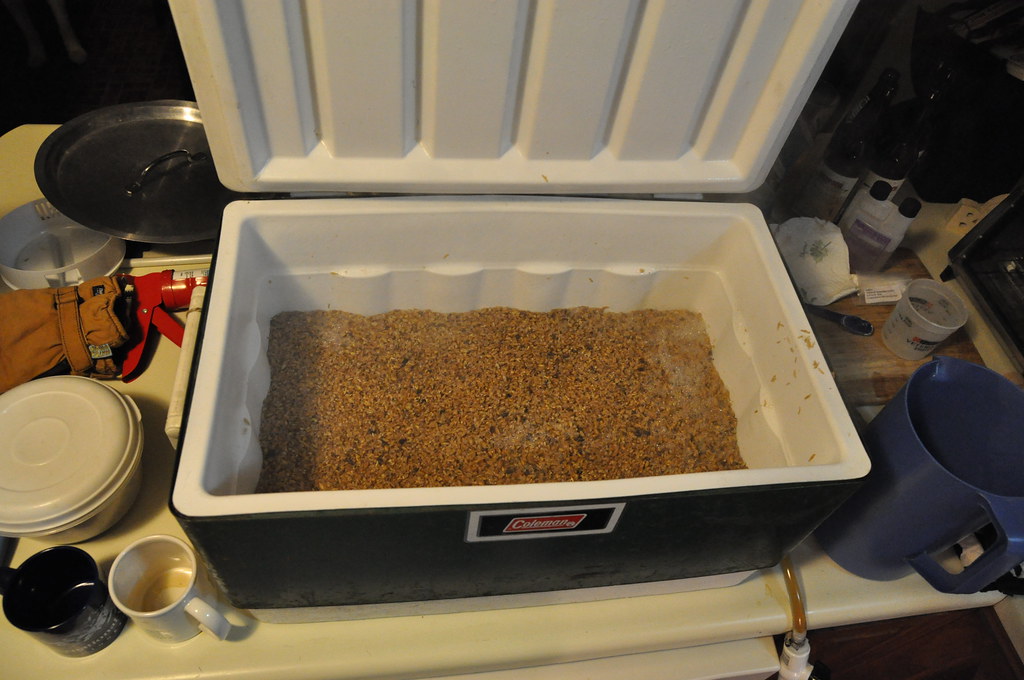
This seemed very promising since a lot of people have done this, PLUS it would allow me to brew indoors during the winter which was a huge bonus. So, I needed to fix a crack on the inside, find the right size tube to fit through the hole, a stainless steel toilet supply line, and an in-line valve outside of the cooler to control the flow. Well, for the first attempt with this one, I decided not to fix the crack on the inside... it seemed sooo small and insignificant... big mistake. Well, maybe not big, but it did leak quite a bit through the course of mashing and lautering. The toilet supply line was easy, and finding the the valve setup locally was a little challenging but I got it worked out. I could've just snagged a valve from Northern Brewer... but I like to make things difficult for myself apparently. So, 2 1/2" (shanks) and a 1/2" valve switch later, I was in business. Since I had the leak, I tried caulking the outside of the hole, but that just slowed it down a little and made a gooey mess. Between my 2nd & 3rd batch, I got some food safe water sealant and sealed the shit outta the inside and out and it has worked wonderfully.
So, option #2 is the big winner for now... I do love my 10 gallon stainless steel kettles... and I hope to maybe make a 5 gallon version of the Brutus 10 someday with them. I have shitty burners, and smaller kettles, but I think it's possible. Just need to build the stand, get some pumps, and build the controller and I'll be set. I will still have the issue of heat loss with that effin thing, so we'll see. But for now, I'm loving the resurrection of my old cooler. We used to make a huge vat of jungle juice in that thing for parties, so it's probably loving this retirement plan. :-)
Cheers
Sunday, January 3, 2010
Chocolate Stout EXP


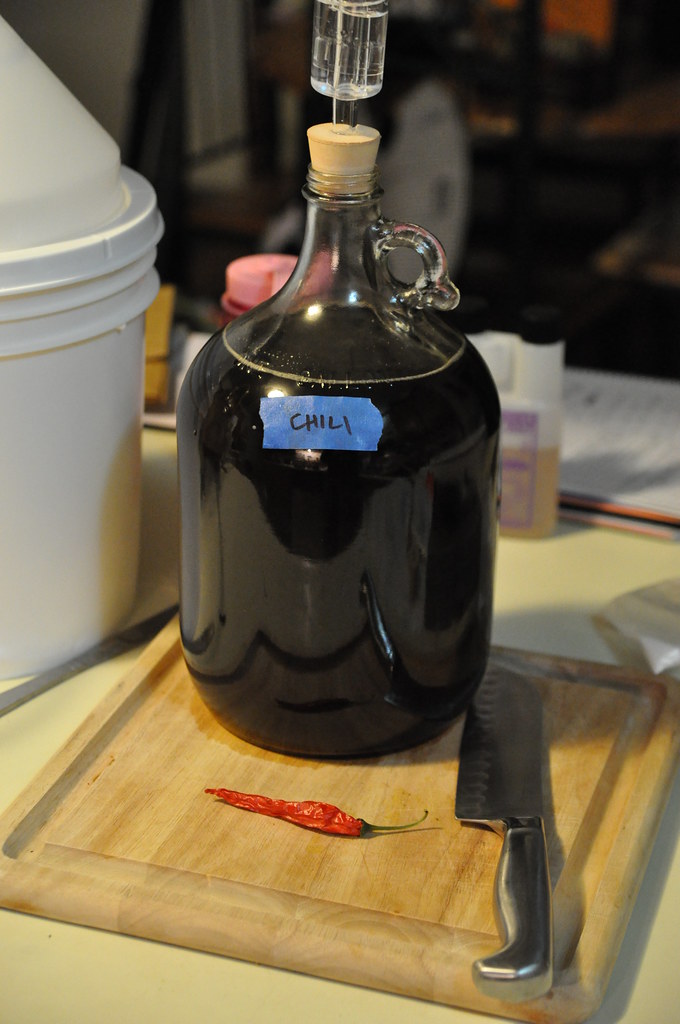
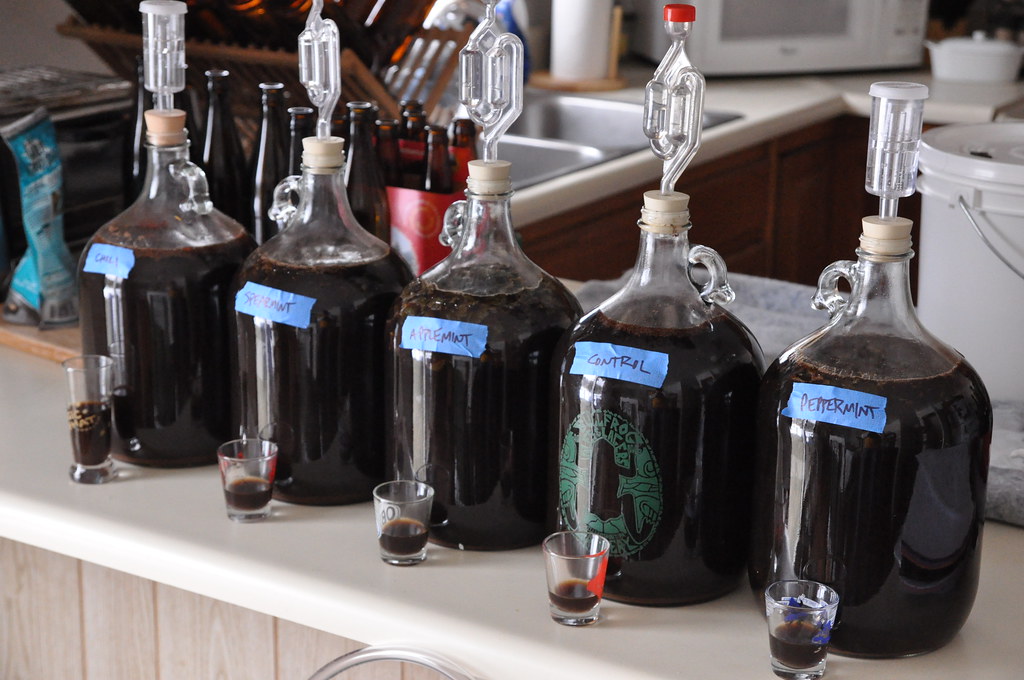
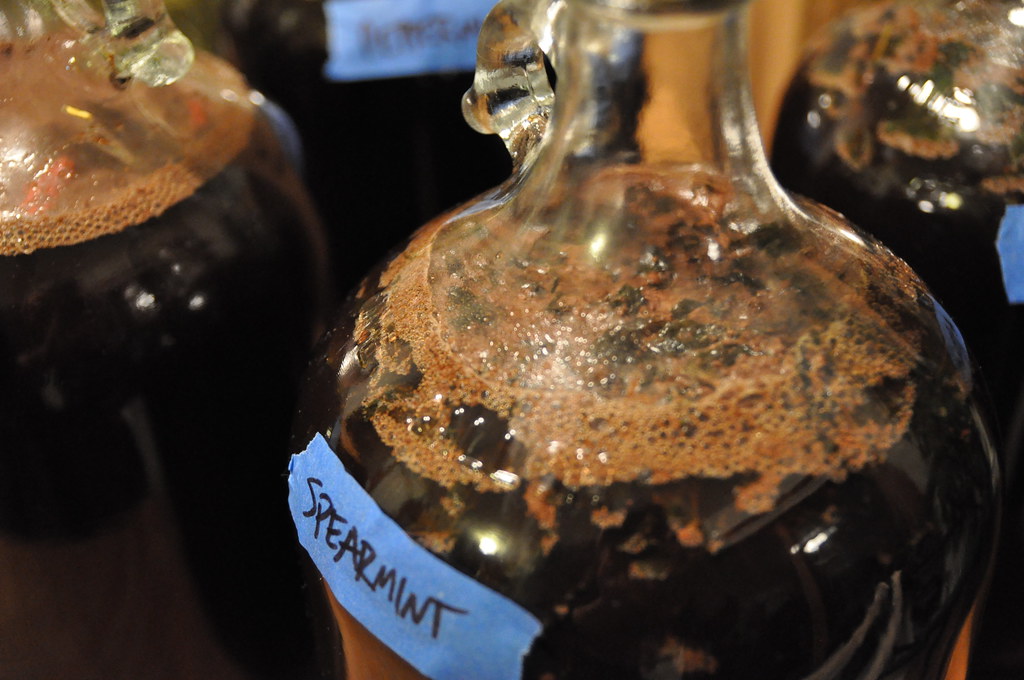
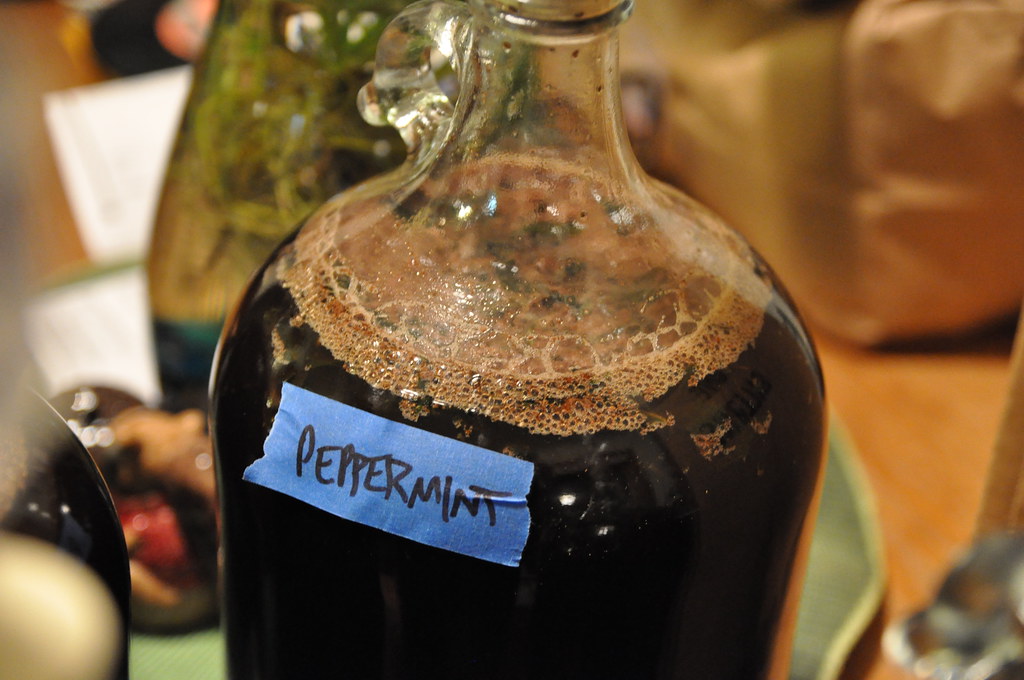
The plan: I have had this idea in mind to try a few chocolate stout variations. We grow 3 varieties of mint at our house, and I thought it might be interesting to try to make a chocolate mint stout. We have peppermint, spearmint, and applemint, and I saved (froze) about an ounce from each at the end of the season. I also wanted to try to make a chocolate chili stout... using a cayenne pepper to spice it up. I brew in 5 gallon batches, so I've been working on buying 5 - 1 gallon jugs to split the batch up. I have the needed equipment and so at the beginning of 2010, I thought I'd try it out.
Recipe:
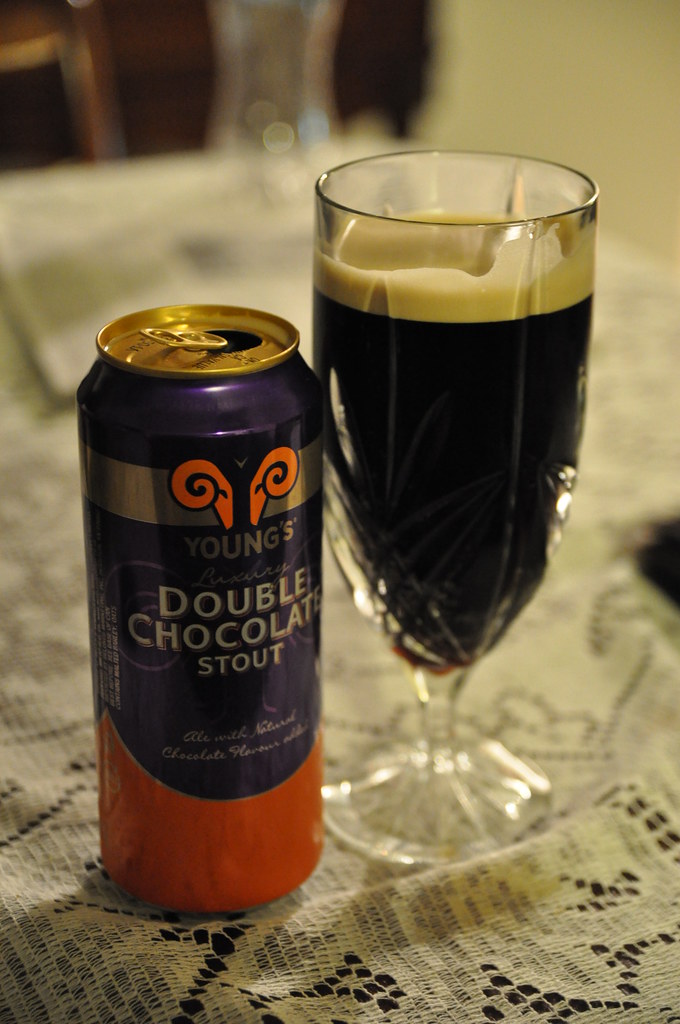
I've been sampling chocolate stouts over the past 2 months to see which would be a good recipe to base this off of. I settled on Young's Double Chocolate Stout. If you haven't tried it, do yourself a favor and go grab some. While researching a clone recipe for this, I decided that this would be a good time to move to all grain brewing. I was fairly confident that I could do this, but what I was worried about was my mash tun. It has had a horrible heat loss problem, so I needed to figure something out with that first. I have another blog entry detailing this process.
Ok, on to the recipe:
OG- 1.053
FG- 1.013
IBU-28
SRM-35
7# Pale 2-row (UK)
11 oz Crystal 60
13 oz Choc malt
12 oz Lactose
8 oz Invert Sugar
4oz Cane sugar
6 oz Cocoa powder
.33 oz liquid chocolate extract
1.4 oz Fuggles (60 min)
1/4 oz Kent Goldings (15 min)
Wyeast 1318 London 3
SO, I made some changes to this, I substituted Malto Dextrin for the Lactose... which I regretted later. It's not a huge deal, but I think it would have added a sweeter mouthfeel to compliment the chocolate in the recipe. Oh well, I was looking at the price of the two instead of what they did ($1.99 for 8 oz MD, $4.99 for 1# of Lactose). I also could not find Invert or Cane sugar, so I used 1# clear candi sugar instead. I did locate the liquid chocolate extract at a health food grocery store, but I forgot to add it to secondary, so it was a waste.
 1/3 BREW DAY: OK, first all grain in 7 years, so pretty much my first all grain. I worked on wrapping the mash tun with a water heater insulation... big mistake, but I made it work for this one. Heated 11 quarts of water to 170, dumped in mash tun, waited a minute or two, then doughed in. Temp reading = 153... perfect. Now I would pray that it stayed there. I waited about 45 minutes and took another reading... 145. Shit! I decided to use the decoction method and I drained about 2 quarts and heated it up to almost boiling. I added that back in, took a temp reading.. 149. Shit! Took another 2 quarts out, boiled, added, temp reading = 150. I did this one more time, and then left it alone for the remaining 10 minutes or so before mashout. I added 3.25 qts of 206F, stirred then drained immediately (another mistake). Took a sample, Brix=9/1.036... target was 1.051. Collected about 4 gallons, so I heated 2.5 gallons to 196F, added to grains, stirred and took temp - 180... way too high. Held for 10 minutes then drained, collected 6 gallons, added another 1/2 gallon water. So.. I was so excited about all of this, and the use of the cocoa, candi sugar, etc... that I accidentally dropped ALL of it in at the beginning of the boil. DOH! I was supposed to wait until 10 minutes left in the boil. Shit, oh well. Somehow with the candi sugar I was able to hit my target gravity after the boil, actually go over it. My target was 1.056, and I got 1.062.
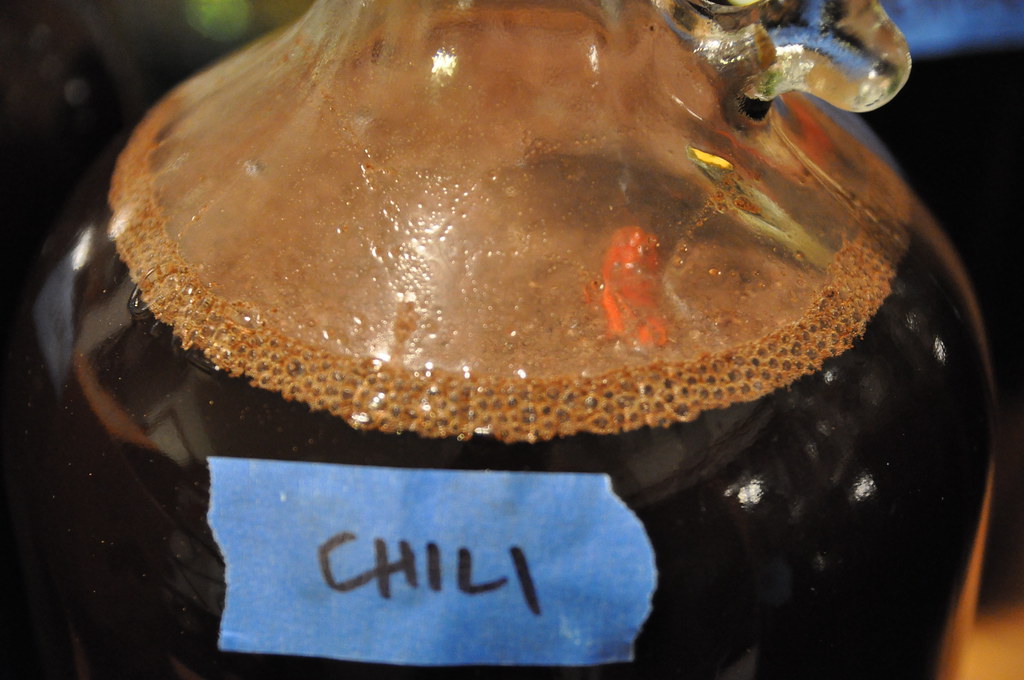
1/15 RACK TO SECONDARY: Between the brew day & moving to secondary, I had the pleasure of traveling to the Dominican Republic for work. We got to tour a cacao plantation where they harvest cacao seeds, ferment them, roast them, and make cocoa powder. I was able to bring some cocoa balls back with me, which are nothing more than organic cocoa powder in a hard packed form. The first step was to break the 5 gallons apart into 5 one gallon jugs. After that, I'd add one cocoa balls, in powder form, to each jug. I wanted to have 1 gallon of plain chocolate stout to compare tastes to, 1 gallon with a single kung pao chili pepper de-seeded and cut up, and 1 gallon of each mint - peppermint, spearmint, and applemint.


1/29 BOTTLED: Time to bottle... I decided since I only had a gallon of each, I would bottle in as many 12 oz. bottles as I could. I walked away with 8 plain, 8 chili, and 2 each of the mints + 3 22 oz. bottles of the mints as well. And I think maybe 1 22oz bottle of each the plain & chili. So, I will TRY to wait a couple weeks, maybe even until Valentines day... but man I'm stoked to try these. I think the chili one is gonna rock.
2/13 - TASTING!!! I have been looking forward to this for sooooo long now. I dreamed up this idea back in November, 3 months later it has come to fruition. On this night, I popped open one of the chili stouts... definitely not ready yet, hardly any carbonation at all... but the taste was pretty good. The heat was perfect. Nailed it! Hope the bitterness of the chocolate mellows out a bit with age.
2/18 - TASTING: Tried one of the Choc Spearmint Stouts while Ash stopped over to watch the Olympic women's halfpipe comp. Great head poured, but disipated quickly, over the course of 10 minutes or so. The mint was definitely too strong, but not too bad. Definitely not great, and I think if I tried this again (IF), then I would use, at most, half as much as I used this time... maybe even less. Concentrate on the choc stout and just add a hint of the mint. The other two mints are probably gonna turn out awful since this was my pick of the litter, we'll see.
2/23 - TASTING: With the good show of carbonation on the mint stout, I thought I'd crack open one of the plain chocolate stouts tonight after dinner to see how it faired. Well... the head was great, the aroma was nice, the initial taste was nice... but wow, horrible aftertaste... yuck. Definitely disappointing. Maybe it'll mellow over time... but I just launched in to thinking about all the shit that I did wrong that could have made that bitter aftertaste, and I'm not talking about hops. I don't remember getting that aftertaste with the chili one, but I did catch a faint taste of it with the mint one. Seems like I tasted that in the Holiday Cheer too... but that was definitely the clementines, and was a different bitter. I'll give these a little more time, probably try the chili one again this weekend for Mardis Gras and see how it is.
Wednesday, November 18, 2009
Cranberry Oak Bark Ale
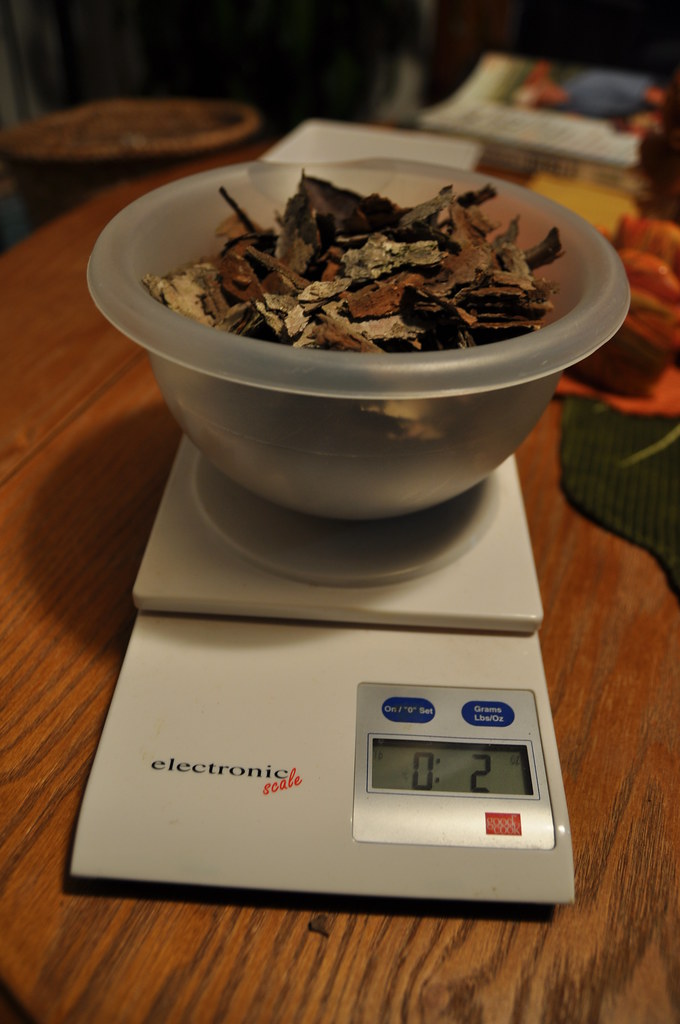
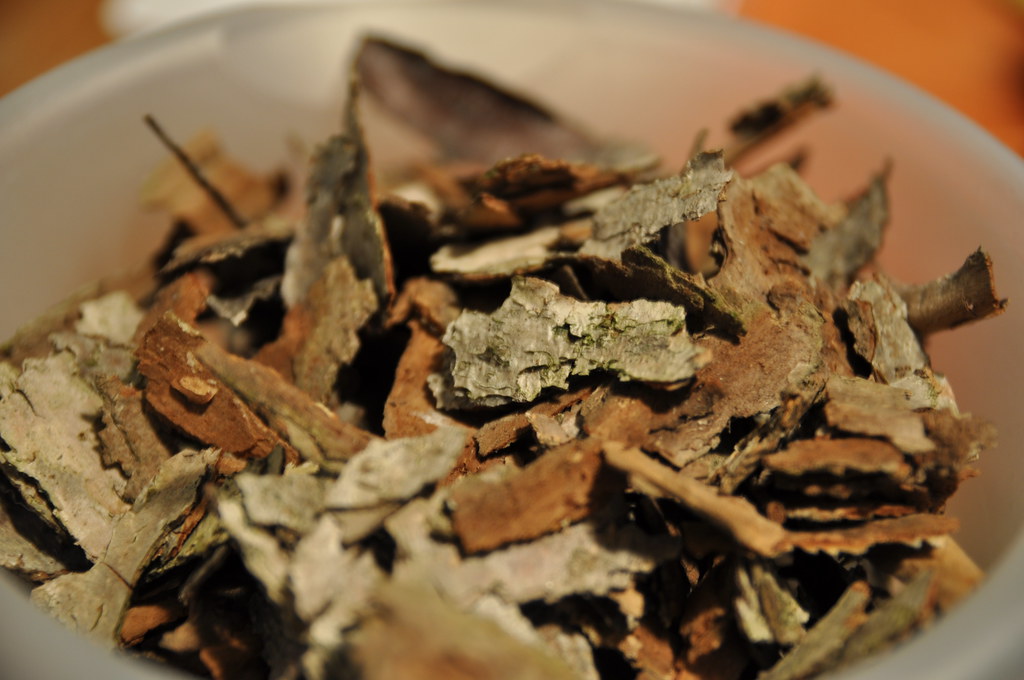
 The plan: I was consulting my "Sacred and Herbal Healing Beers" book and found an interesting recipe using oak bark. Yes, bark. We happened to have a fairly young oak tree in our back yard and I noticed the bark could be chipped off easily. I did some more reading and decided what the hell.. let's do a 1 gallon batch and see how it turns out. As I was putting the recipe together, I thought I should add something to balance out the dry earthy taste the oak bark would most likely give. First thing that came to mind was cherries... I figured the tartness of them might pair well. After an internet search for Cherry Oak... I discovered that Widmer Brothers had already made a Cherry Oak Dopplebock. Shit! Oh well... was actually still going to go through with it, and I went to the grocery store to get the supplies but I could not find any fresh cherries. What I did see though were fresh cranberries. I grabbed a pound of those and also a bag of dried cranberries and headed home to brew.
Recipe: (1.5 gallon batch)
OG: 1.074
FG: 1.019*
2# Pale LME
2oz Oak Bark
Cooper's Ale (dry)
11/18 BREWDAY: This was easy - I put on 1.5 gallons of tap water, brought to a boil, added the extract, dissolved, then added the oak bark and left on a low boil for 45 minutes. I pulled it off the stove, gave it an ice bath to 70, strained it into a 2 gallon bucket, checked gravity - Brix=18/1.074, then pitched 1 gram of yeast and let go. By the next morning it was showing fermentation. We left soon after for Thanksgiving, so the plan was to rack to secondary & add the cranberries when we got back from our trip back to PA.
12/5 SECONDARY: Before racking, I pulled a sample and checked gravity - Brix=9.9/1.019. Sweet... already rockin 7%. I also took a little sample to taste. Color was darker than I expected, very sweet... but wow was it tasty! I first added the dried cranberries to a 1 gallon jug, I think about 3 oz. I racked the beer on top... then realized that the dried cranberries would probably just make it sweeter, rather than tart. I pulled out the fresh cranberries, crushed them up a bit, and then added those in as well. Over the next couple of days a bit of a re-fermentation started happening. I made the mistake of not taking a gravity reading after I added the cranberries... it seems like the dried ones have added more sugar. I let it go until the 11th and then prepared for bottling.
12/11 BOTTLED:
Wednesday, November 11, 2009
Chapin Cider 2009
The plan: Oh yes... it's cider time. I have tried to make a hard cider probably 3 or 4 times now. This year I restarted my homebrewing hobby, and went about things a little smarter. I think this one has a chance! Wuhoo!
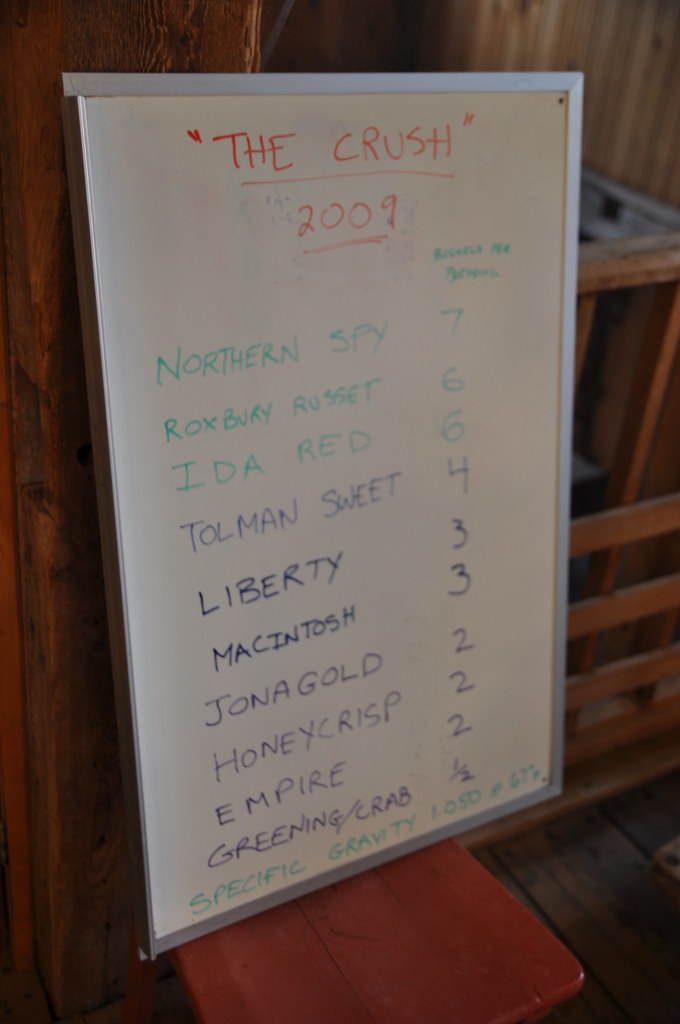
I signed up for a fall crush from a local orchard. A fall crush is a special apple collection of a huge variety of apples that they crush together for a good mix to be used for hard cider. I rolled out to Chapin Orchard in Essex VT and collected 5 gallons. I also bought 2 cider donuts (couldn't resist), and a (ahem) "control" quart of their cider for ... you know... scientific purposes. (wink wink). In actuality, I wanted to sample their cider without using any of the cider I'd be using for the hard stuff. It was exceptionally great!


When I got home, I took a gravity reading (1.046), crushed up and added 5 camden tablets, and let it sit for 24 hours. I was a bit worried about these tablets working, because they were oooollllldddd. I got this particular bottle of them back in 2001 (gulp) in a purchase I made from a guy selling his 3 tier system and everything else in his brewing locker. So who knows how long he had them. Not sure if something like that can weaken or go bad over time. However, it seemed to work.
A day later, I warmed up some water, added 2 cups of brown sugar, and a little maple syrup, cooled the mixture to 100, then pitched some Red Star Champagne yeast and let it settle/activate for about 10-15 minutes. I racked the cider out of the 6 gallon bucket and into a glass carboy, then added the yeast, water, sugar, syrup mixture.
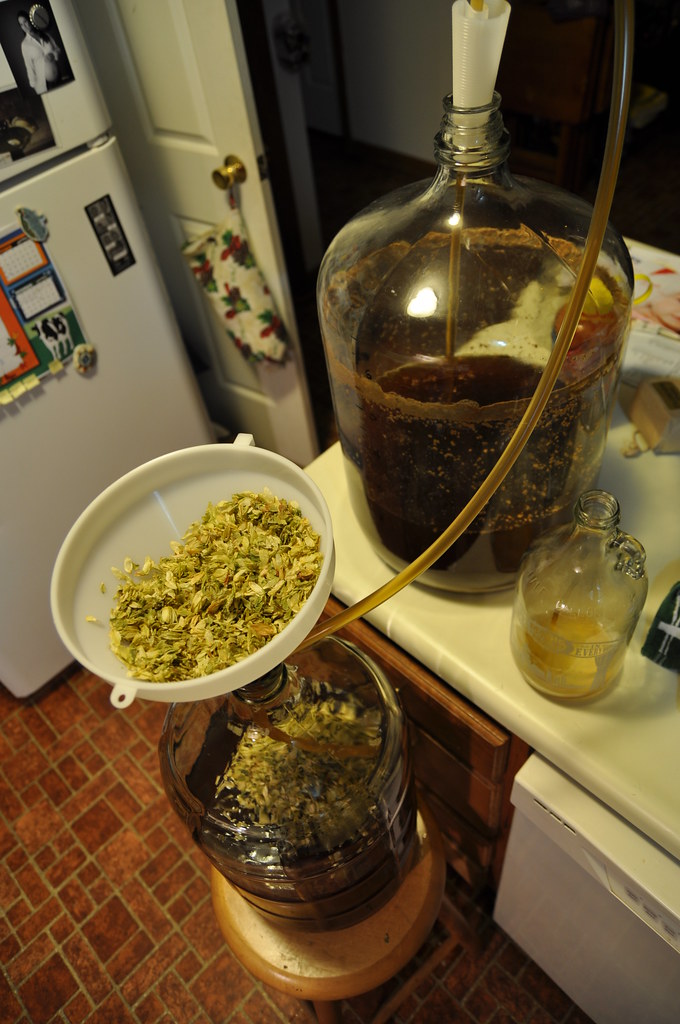
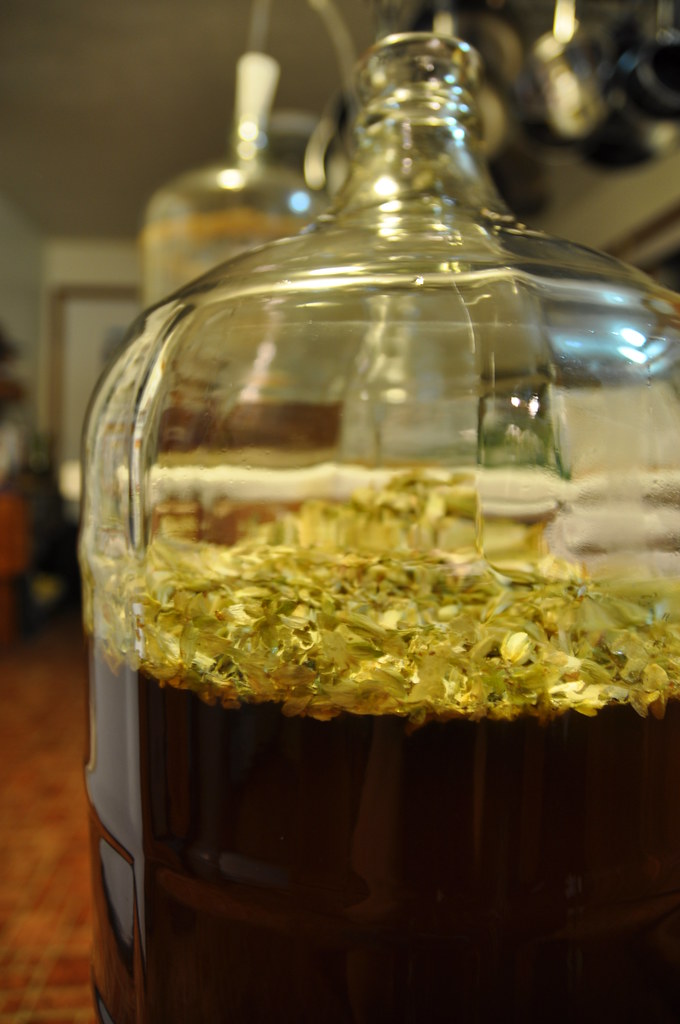
Throughout the following days, I got a little worried. It looked like it started to ferment, but then got this strange looking krausen on top -

10-09-DSLR 815
Originally uploaded by Pocket of Light Pictures
It went away by the next day, and then it started doing this totally funky fermentation again where it swirled in random patterns... check out the vid:
I confirmed with some more advanced brewers, that everything looked ok, and went on.
11/7 SECONDARY: While I was racking, I pulled a sample to check the gravity... 0.998!!! Holy schnikes! It tasted tart, was yellow and almost clear. I overshot where I wanted the fermentation to stop... damn. Deceiving little sucker! In the past, I've had the trouble of my ciders NOT fermenting... this time it fermented too much, which is a good problem to have I guess.
So, I racked to secondary, added some potassium sorbate (to halt the fermentation), and put it out in the garage where it will live for the next month at least... maybe longer. I may rack to a corny keg and stick in my fridge. This puppy needs to age, I just hope it has stopped fermenting. I do plan on adding 1 or 2 pounds of brown sugar, some honey, and maybe some maple syrup... hoping to sweeten it up. I'm not a big fan of dry ciders, and this thing was super dry.
1/29 THIRDARY: I had moved the cider out of the garage and into the 50-55F basement because I noticed ice building up on the inside of the carboy... not good! I'm sure it wouldn't really hurt, but I didn't want it happening. I took a gravity reading and we're still sitting pretty around 1.000. The taste had definitely mellowed out a bit, still dry, but not as bitey as it was back in November. I put about a quart or so of newly purchased cider into a saucepan, heated it up, then added 2#s brown sugar, 8oz maple syrup, and 8oz honey. Kept stirring until all dissolved, then added to thirdary carboy. I racked the cider on top, gave it a good shake, and capped it with an airlock. I left it there overnight to check for any possible fermentation start up. 24 hours later, nothing happened, which was good and bad. I really would like this to have some carbonation, but with no yeast left, I wouldn't have any. This would be a great one for a keg... hmmm... maybe I'll have to get that kegerator put together soon... ;-)
I signed up for a fall crush from a local orchard. A fall crush is a special apple collection of a huge variety of apples that they crush together for a good mix to be used for hard cider. I rolled out to Chapin Orchard in Essex VT and collected 5 gallons. I also bought 2 cider donuts (couldn't resist), and a (ahem) "control" quart of their cider for ... you know... scientific purposes. (wink wink). In actuality, I wanted to sample their cider without using any of the cider I'd be using for the hard stuff. It was exceptionally great!

A day later, I warmed up some water, added 2 cups of brown sugar, and a little maple syrup, cooled the mixture to 100, then pitched some Red Star Champagne yeast and let it settle/activate for about 10-15 minutes. I racked the cider out of the 6 gallon bucket and into a glass carboy, then added the yeast, water, sugar, syrup mixture.
Throughout the following days, I got a little worried. It looked like it started to ferment, but then got this strange looking krausen on top -

10-09-DSLR 815
Originally uploaded by Pocket of Light Pictures
It went away by the next day, and then it started doing this totally funky fermentation again where it swirled in random patterns... check out the vid:
I confirmed with some more advanced brewers, that everything looked ok, and went on.
11/7 SECONDARY: While I was racking, I pulled a sample to check the gravity... 0.998!!! Holy schnikes! It tasted tart, was yellow and almost clear. I overshot where I wanted the fermentation to stop... damn. Deceiving little sucker! In the past, I've had the trouble of my ciders NOT fermenting... this time it fermented too much, which is a good problem to have I guess.
So, I racked to secondary, added some potassium sorbate (to halt the fermentation), and put it out in the garage where it will live for the next month at least... maybe longer. I may rack to a corny keg and stick in my fridge. This puppy needs to age, I just hope it has stopped fermenting. I do plan on adding 1 or 2 pounds of brown sugar, some honey, and maybe some maple syrup... hoping to sweeten it up. I'm not a big fan of dry ciders, and this thing was super dry.
1/29 THIRDARY: I had moved the cider out of the garage and into the 50-55F basement because I noticed ice building up on the inside of the carboy... not good! I'm sure it wouldn't really hurt, but I didn't want it happening. I took a gravity reading and we're still sitting pretty around 1.000. The taste had definitely mellowed out a bit, still dry, but not as bitey as it was back in November. I put about a quart or so of newly purchased cider into a saucepan, heated it up, then added 2#s brown sugar, 8oz maple syrup, and 8oz honey. Kept stirring until all dissolved, then added to thirdary carboy. I racked the cider on top, gave it a good shake, and capped it with an airlock. I left it there overnight to check for any possible fermentation start up. 24 hours later, nothing happened, which was good and bad. I really would like this to have some carbonation, but with no yeast left, I wouldn't have any. This would be a great one for a keg... hmmm... maybe I'll have to get that kegerator put together soon... ;-)
Saturday, November 7, 2009
Mystery Rye IPA
The plan: Saturday November 7th was "Teach a Friend to Homebrew Day" by AHA... so I invited some friends over and put together a little IPA partial mash recipe for the day. Turns out, we didn't get much brewing done that day while everyone was there... but we did bottle my Holiday Cheer, and move my cider to secondary... so they learned quite a bit from that.
Recipe:
11/7 BREWDAY:
11/18 SECONDARY:
12/13 BOTTLED:
12/18 TASTING!!!
Subscribe to:
Comments (Atom)
